I completed another milestone in my studio — I think it’s now an 1/8 Measure Studio. But even in this compact space, I ultimately completed the edition of eight copies of my project Surveillance. This with the help of two very conscientious artists.
© 2021 Louise Levergneux. The last three copies of Surveillance available.
© 2021 Louise Levergneux. Surveillance.
It was quite the process! Natalie Freed, electronics expert in Texas, was responsible for the realization of my creative thoughts back in 2018. Unable to work on the electronics to finish the last four copies due to other priorities, Natalie passed on the assembly documentation and purchased all the necessary materials to be completed by another artist. The materials, included: microcontrollers, amplifiers, tiny potentiometers to adjust the audio volume, mini speakers, sliding switches, silicone wires, breadboards, cameras, circuit boards, and a LED lights. I’m glad someone else was doing the electronics. The list above is a world of unknown to me and I’m thankful Natalie was able to see what I was dreaming of.
Once the materials were purchased, coded and programmed, all was shipped to me in Arizona. At this point my part was to drill bigger holes in the cameras to receive longer screws for securing the cameras to the covers. Once again the bindings, cameras, and all the materials, were shipped this time to Thomas Parker Williams in Pennsylvania — who responded to my query for help with the project. He took responsibility for completing the electronics with excellent assembly documentation from Natalie. Since Thomas was extremely fast and efficient, my books were shipped one last time to me; then came the phase of me positioning the tunnel book, the cover image, and the colophon in each binding. Presently, three copies are ready for a new home.
© 2021 Louise Levergneux. One copy of Surveillance was on order from the University of Nebraska at Omaha, since last April. .
© 2021 Louise Levergneux. Hazel & Violet Letterpress Printers located in the renovated Braggs Pie Factory building on Historic Grand Avenue of Phoenix has a whimsical facade. Grand Avenue has never lost its genuine appeal due to the many interesting vintage buildings that create a gritty boulevard, connecting the edge of downtown with points west.
Since my last post I have re-examined my equipment to work productively. I pride myself in keeping a smaller footprint in life and decided I should also keep my tools at a minimum. I will be able to produce my books through my manual methods and when bigger equipment is needed I can communicate with contacts and artists I have met virtually or in person.
Philip Zimmermann suggested I contact Nancy Hill of Hazel & Violet Letterpress Printers in Phoenix for the use of a cutter.
© 2021 Louise Levergneux. Hazel & Violet Letterpress Printers in Phoenix, many metal and wood type cabinets.
© 2021 Louise Levergneux. Nancy Hill demontrating a press at Hazel & Violet Letterpress Printers.
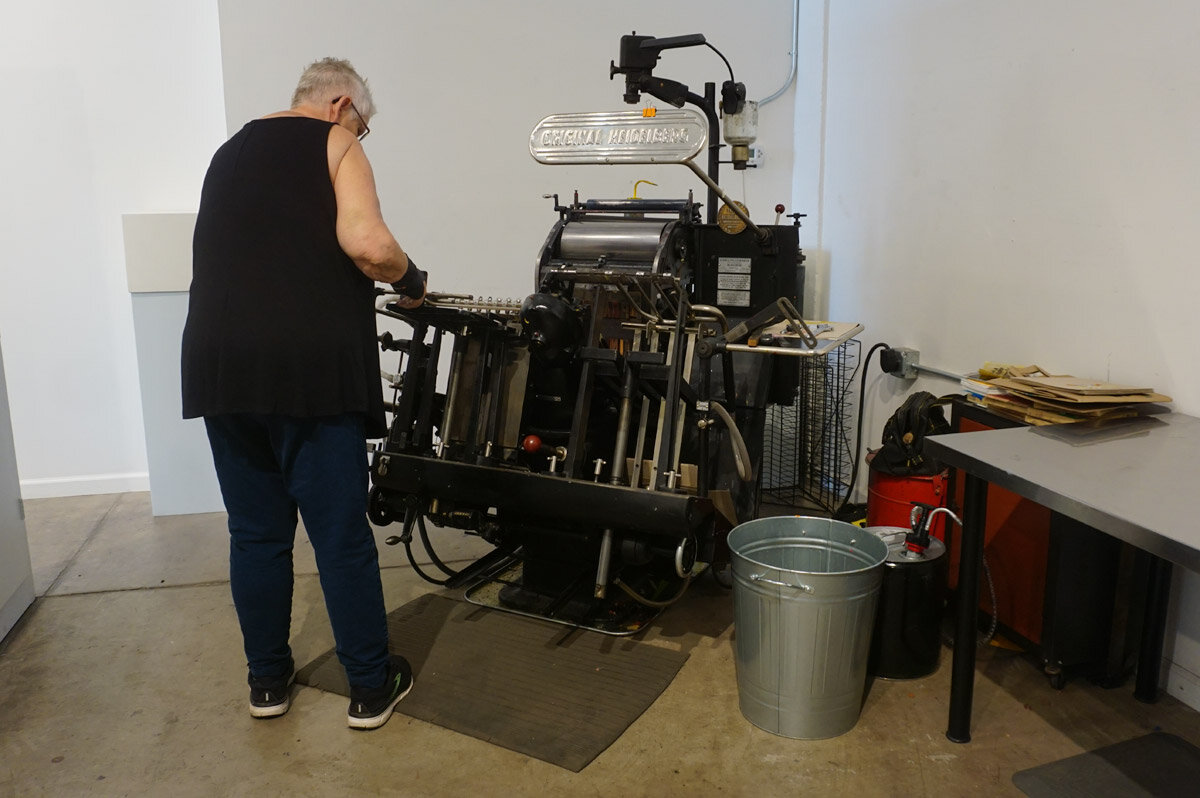
I took the opportunity to visit with Nancy and tour the letterpress studio in June. Hazel & Violet — a letterpress studio, teaching facility, and commercial print shop on Historic Grand Avenue is open-to-the-public. Nancy Hill prints custom stationery, business cards, coasters, invitations, and broadsides. Eric Lindquist (runs the Heidelberg) and Michael C. Leeder both print mostly the commercial work. Michael is also involved in Forest and Third Friday nights Showing folks how to print and make free posters.
© 2021 Louise Levergneux. Some of the work printed at Hazel & Violet Letterpress Printers.
In addition they have a print-time rental space for a nominal fee — $20.00 per person with a two-hour minimum. The space is furnished with wonderful equipment (not all available for rent) a Chandler & Price (10 X15 NS – 1922), a Heidelberg T-Platen Windmill (1967), a Potter Proof Press (1925), a Reprex (1965), and a Long-Master Showcard Press (1980).
© 2021 Louise Levergneux. Quality handmade work, Hazel & Violet Letterpress Printers.
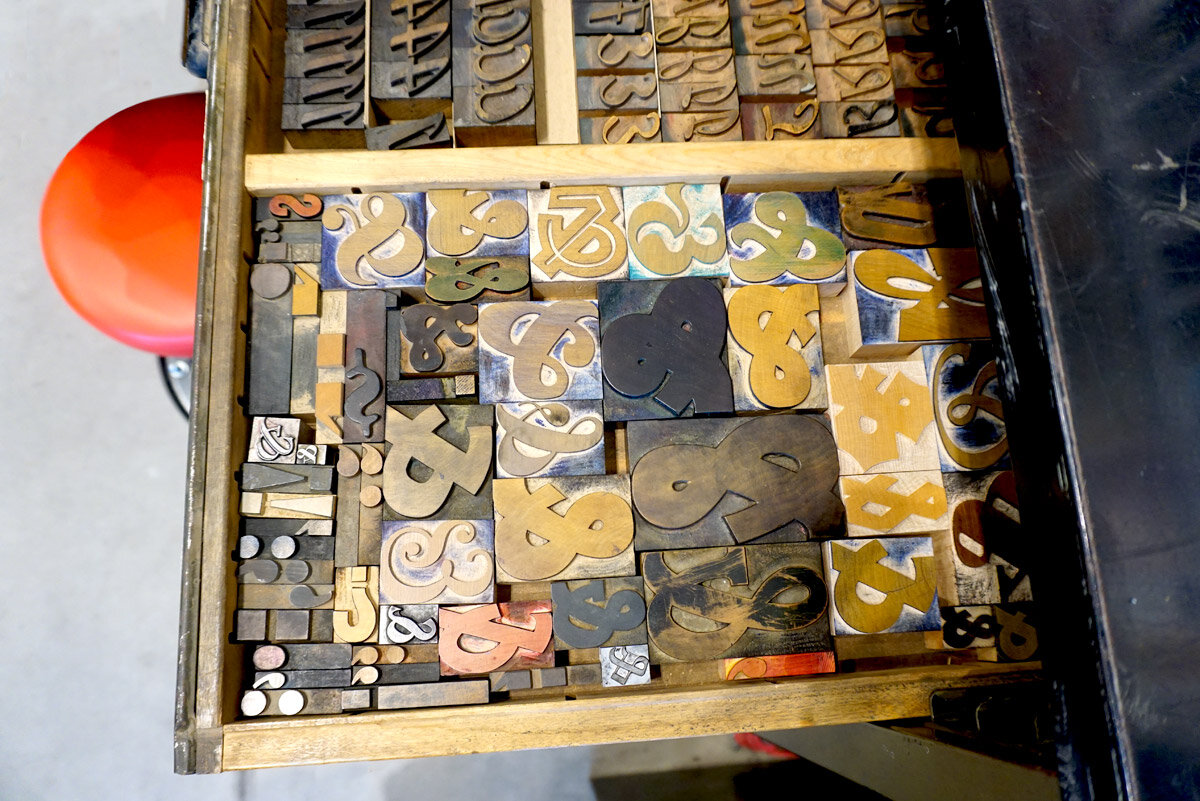
© 2021 Louise Levergneux. Nancy has an interest in ampersands.
In the artists’ book community, one can invariably discover someone who is invaluable and friendly.
If you missed Mark Wangberg comment on my post “Tools and Equipment,” I think you will find his creative tools and equipment making interesting.
I am in a remote area of Peru (Iquitos) with very limited access to equipment easily obtained in the USA. I brought a small Kutrimmer (14" cut) from the US and use it to cut board and papers. I also do some cutting by hand and appreciated seeing your setup for that! I rarely do editions these days, so I'm not usually cutting a lot of board by hand. I'd LOVE to have a larger Kutrimmer or board shear but have not found any available here. I may end up having a machine shop make one for me! For now, I know some printers who will cut paper to precise sizes with big electric cutters — if I need real precision. A trick I learned for cutting paper to larger sizes accurately was folding the paper into quarters and then cutting with the Kutrimmer — good for some of the origami type folds I use in making books.
For my own marbling & teaching I have made most of my tools (combs and rakes) using wood, stiff corrugated plastic and T-pins and nails or screws. I push the T-pins at regular 1/4" intervals through the stiff plastic and then duct tape over the top of the T. These make a lightweight and waterproof comb for nonpareil. The combs are made with lengths of 1" x 2" wood with screws usually spaced two" apart. Thin plywood can also be used. These tools can be made to fit whatever size tank I'm using. I usually marble paper that is 12"x18" and use tanks that are a few inches wider and longer. These tanks are flexible plastic storage boxes usually sold in hardware stores (used to store clothing, etc.). Most have convenient lids when leaving the carrageenan or methyl cellulose bath sitting overnight, thus preventing dust from getting into the bath. I like using the clear plastic tanks because I can put a piece of white paper under them so the marbling colors show accurately. Dark tanks make it hard to see the colors as they float on the surface. Some people use glass tanks too. My plastic ones are usually about three or 4 inches deep, but I only put about one inch of the liquid bath in the tanks. For traveling to remote locations, I make "tanks" using four pieces of 2x2" wood, 20x14" in length, then drape heavy clear plastic (like a table covering) so that the plastic lowers into the rectangle. The wooden rectangle doesn't need to be attached like a frame with screws or nails, though it will steady the setup for rowdy kids! Sometimes I use pushpins to hold the plastic in place while working.
© 2021 Louise Levergneux. Over 100 DVD’s to copy to a 1TB LaCie SDD Drive. My New drive is the little gray box on the bottom left!
Like many hats an artist wears, the administrivia part is the worst! This is what I’m dealing with for the next week. Again smaller footprint, smaller space, less DVD’s. I purchased a 1TB LaCie SDD Drive for storing all photos and artists’ book information, work template, statements...


